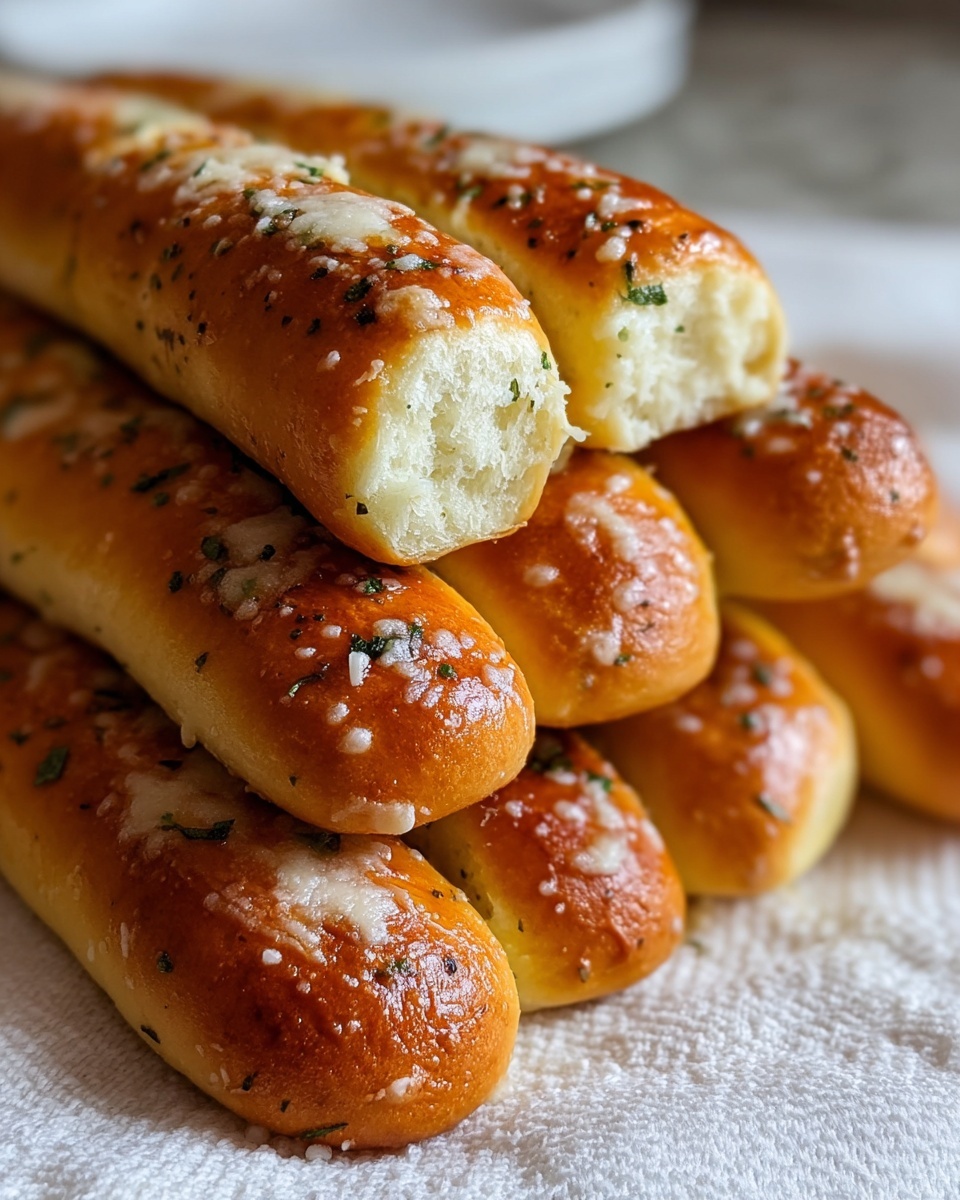
If you’ve ever found yourself craving those soft, buttery sticks that come alongside your favorite meal at Olive Garden, you’re in for a treat with this Olive Garden Breadsticks Recipe. These irresistible breadsticks capture everything you love about the restaurant classic: pillowy texture, subtle garlic and parsley flavor, and a warm, buttery finish that makes every bite feel cozy and comforting. Making them at home might sound tricky, but with this step-by-step guide, you’ll discover just how easy and rewarding it is to recreate that iconic breadstick experience in your own kitchen.
Ingredients You’ll Need
The magic behind these Olive Garden breadsticks lies in the simplicity and quality of the ingredients. Each element plays its part in delivering the perfect balance of flavor, texture, and aroma that make these breadsticks unforgettable.
- 1 cup warm water: Activates the yeast and creates the perfect environment for the dough to rise.
- 1 tablespoon active dry yeast: The essential leavening agent that makes the breadsticks light and fluffy.
- 2 tablespoons sugar: Feeds the yeast and adds a touch of sweetness to balance the savory flavors.
- 1 teaspoon salt: Enhances the overall flavor and strengthens the dough’s structure.
- 3 tablespoons vegetable oil: Adds moisture and tenderness for that soft, pillowy texture.
- 2 ½ cups all-purpose flour: Forms the dough’s base, providing structure while remaining tender.
- 2 tablespoons melted butter: Brushed on top to give the breadsticks their iconic golden color and rich taste.
- ½ teaspoon garlic salt with parsley flakes: Delivers that signature garlic and herb kick that makes these breadsticks unforgettable.
How to Make Olive Garden Breadsticks Recipe
Step 1: Activate the Yeast
Start by mixing the warm water, active dry yeast, and sugar in a large bowl. This combo is the foundation of your dough and getting the yeast lively is key! Let the mixture sit for 5 to 10 minutes until it becomes foamy — that frothy surface is your green light to move on.
Step 2: Combine Wet and Dry Ingredients
Once your yeast is foamy, stir in the salt, vegetable oil, and 2 cups of the flour. The dough will look shaggy and sticky at first, but hang tight — this texture is just the beginning of something delicious.
Step 3: Add Remaining Flour Gradually
To avoid a dry, crumbly dough, add the remaining flour in small increments, about ¼ cup at a time. You’re aiming for a dough that pulls away from the sides of the bowl, soft yet slightly sticky to the touch. This balance keeps your breadsticks tender instead of tough.
Step 4: Knead the Dough
Turn your dough out onto a lightly floured surface and knead for 5 to 7 minutes. This step develops gluten, giving your breadsticks their amazing chew. Add more flour if needed to prevent sticking, but don’t overdo it — a slightly sticky dough is what you want.
Step 5: First Rise
Place your kneaded dough into a greased bowl, then cover it with a clean kitchen towel. Let it rest in a warm spot for at least 30 minutes until it doubles in size. This rise is where the magic of fermentation creates flavor and a light, airy structure.
Step 6: Shape the Breadsticks
Once the dough has risen, punch it down gently to release the air. Divide it into 12 equal portions—you can really feel the softness here! Roll each portion into a 9-inch rope and set them on a parchment-lined baking sheet, spacing them with a little room to grow.
Step 7: Second Rise
Cover your shaped breadsticks with a kitchen towel once again and let them rise for another 20 to 30 minutes. This final rise helps ensure your breadsticks will be extra light and tender after baking.
Step 8: Bake and Finish
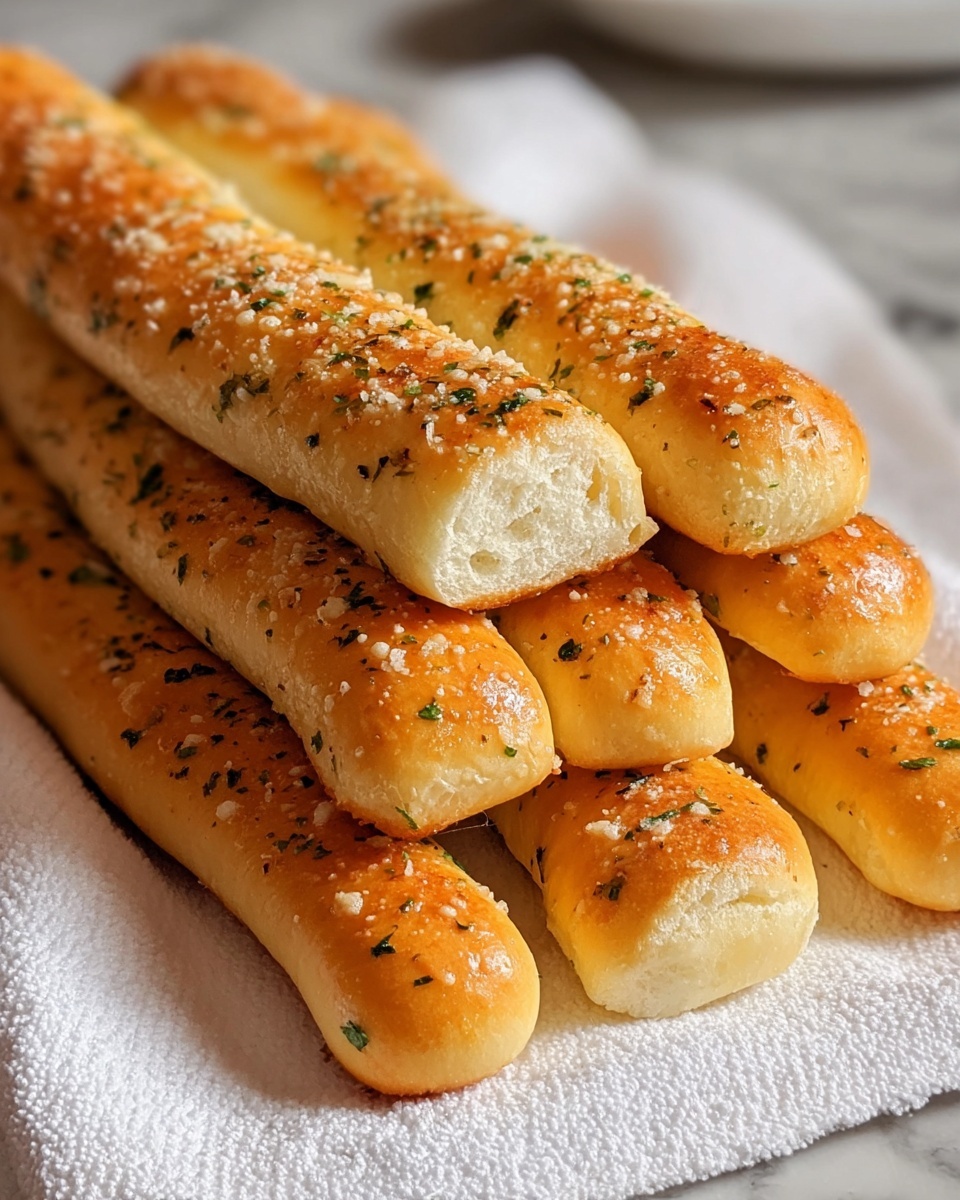
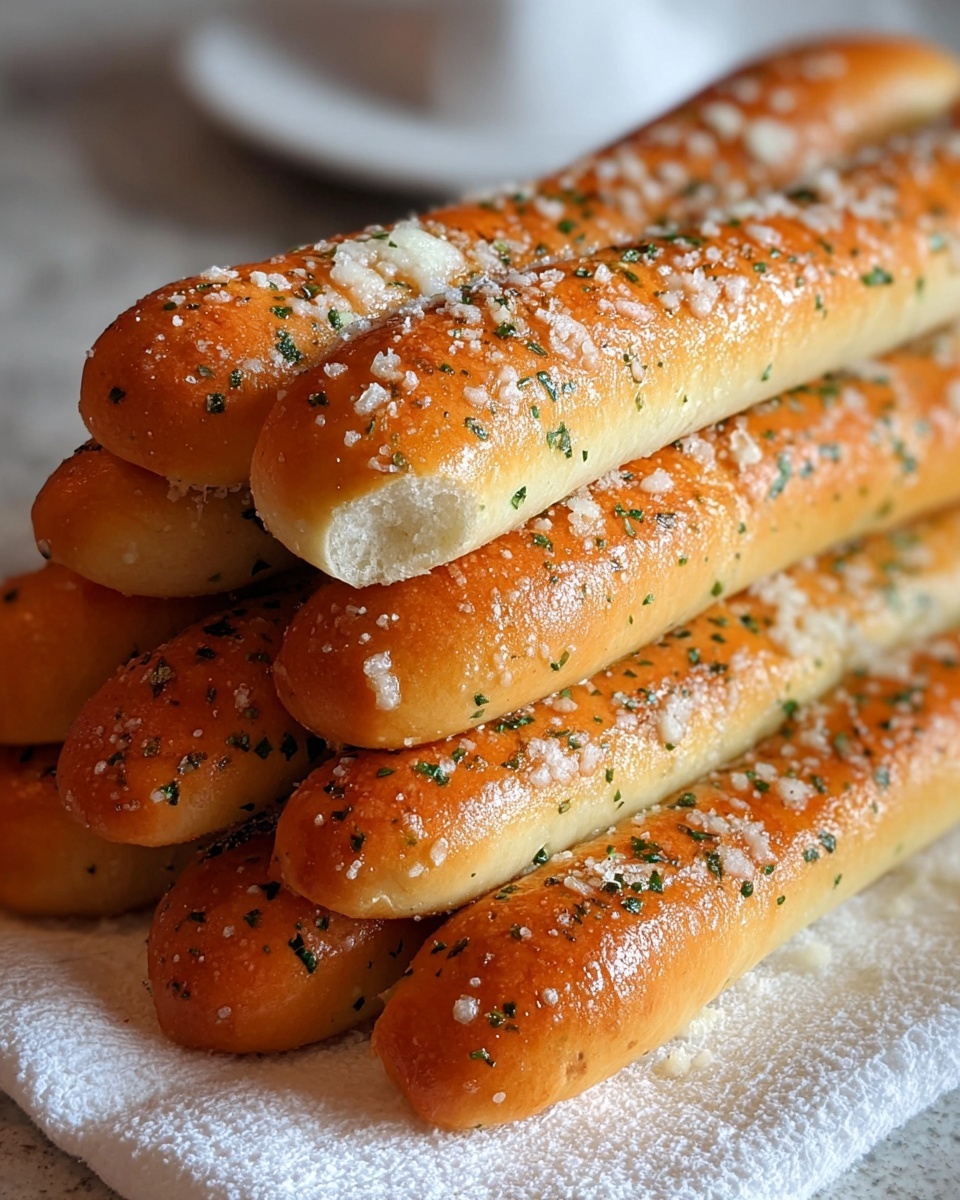
Before baking, brush each breadstick generously with melted butter, then sprinkle with garlic salt and parsley flakes to nail that classic Olive Garden flavor. Bake at 350°F (175°C) for about 15 minutes or until golden brown. The smell alone will have you countdown the seconds!
How to Serve Olive Garden Breadsticks Recipe
Garnishes
While the garlic salt and parsley flakes are the signature topping, don’t hesitate to experiment with melting extra butter mixed with a little garlic powder or sprinkling some freshly grated Parmesan cheese right after baking for an elevated touch. A light brush of herb-infused olive oil is another wonderful option that adds an aromatic finish.
Side Dishes
These breadsticks are the perfect partner to soups and salads. Think classic tomato basil soup, rich Alfredo pasta, or a crisp Caesar salad—their mild flavor and soft texture complement many dishes without overpowering them. They also shine alongside hearty Italian meals like lasagna or chicken parmigiana.
Creative Ways to Present
For a fun twist, arrange the breadsticks in a circular bundle on a platter with a small bowl of marinara or ranch dip in the center—ideal for sharing at family dinners or parties. You can also slice them into bite-sized pieces for easy dipping. No matter the presentation, they always invite a “just one more” conversation around the table.
Make Ahead and Storage
Storing Leftovers
If you have any leftover breadsticks (though, honestly, they rarely last!), wrap them tightly in plastic wrap or foil and store them in an airtight container at room temperature. They should stay fresh for 1 to 2 days, maintaining their soft, buttery goodness.
Freezing
To keep the Olive Garden Breadsticks Recipe ready for future cravings, freeze fully cooled breadsticks inside a freezer bag or airtight container for up to 2 months. When you want to enjoy them again, just thaw overnight and reheat—they taste just as amazing as freshly baked.
Reheating
Reheat your breadsticks in a preheated 350°F (175°C) oven for about 5 to 7 minutes to restore that fresh-baked softness and warm buttery flavor. You can also pop them in the microwave for 15 to 20 seconds, though the oven method is best for retaining that crisped exterior and fluffy interior.
FAQs
Can I make Olive Garden Breadsticks Recipe gluten-free?
While this recipe relies on all-purpose flour for its perfect texture, you can experiment with gluten-free flour blends. Keep in mind that you may need to adjust the amount of liquid and possibly add a binding agent like xanthan gum to get a similar chewy, soft texture.
What if I don’t have garlic salt with parsley flakes?
No worries! You can create your own by combining regular garlic powder with a pinch of salt and dried parsley flakes. Adjust the amounts to your taste and sprinkle liberally on the buttered breadsticks for that classic flavor burst.
Can I use other oils instead of vegetable oil?
Yes, you can substitute vegetable oil with light olive oil or canola oil. These options will still provide moisture and tenderness, though olive oil will lend a slightly richer flavor that pairs wonderfully with the garlic and herbs.
How important is the second rise?
The second rise allows the breadsticks to puff up and become light and airy when baked. Skipping this step can result in denser, less fluffy breadsticks. Patience here definitely pays off!
Can I bake these breadsticks in advance?
You can bake them ahead of time and reheat as needed. Just keep them well wrapped to maintain freshness, and reheat in the oven to bring back that just-baked texture and warmth before serving.
Final Thoughts
I can’t recommend this Olive Garden Breadsticks Recipe enough for anyone looking to bring that beloved restaurant flavor right into their home kitchen. They’re straightforward to make, perfectly soft, and packed with that buttery garlic goodness you can’t resist. Whether you’re feeding a crowd or treating yourself, these breadsticks will quickly become a favorite staple in your recipe collection. So grab your ingredients and get ready to experience the joy of homemade breadsticks that taste just like the original!