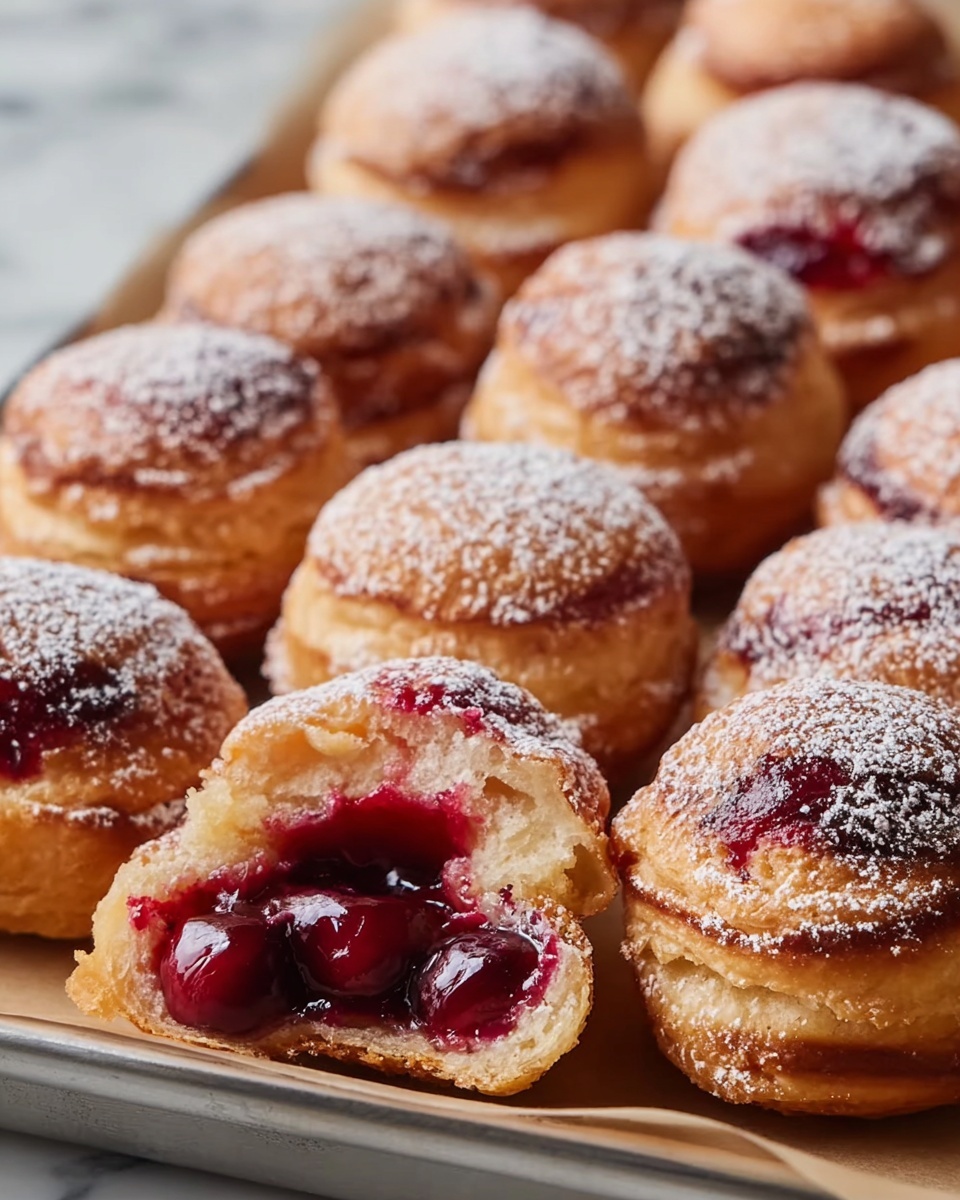
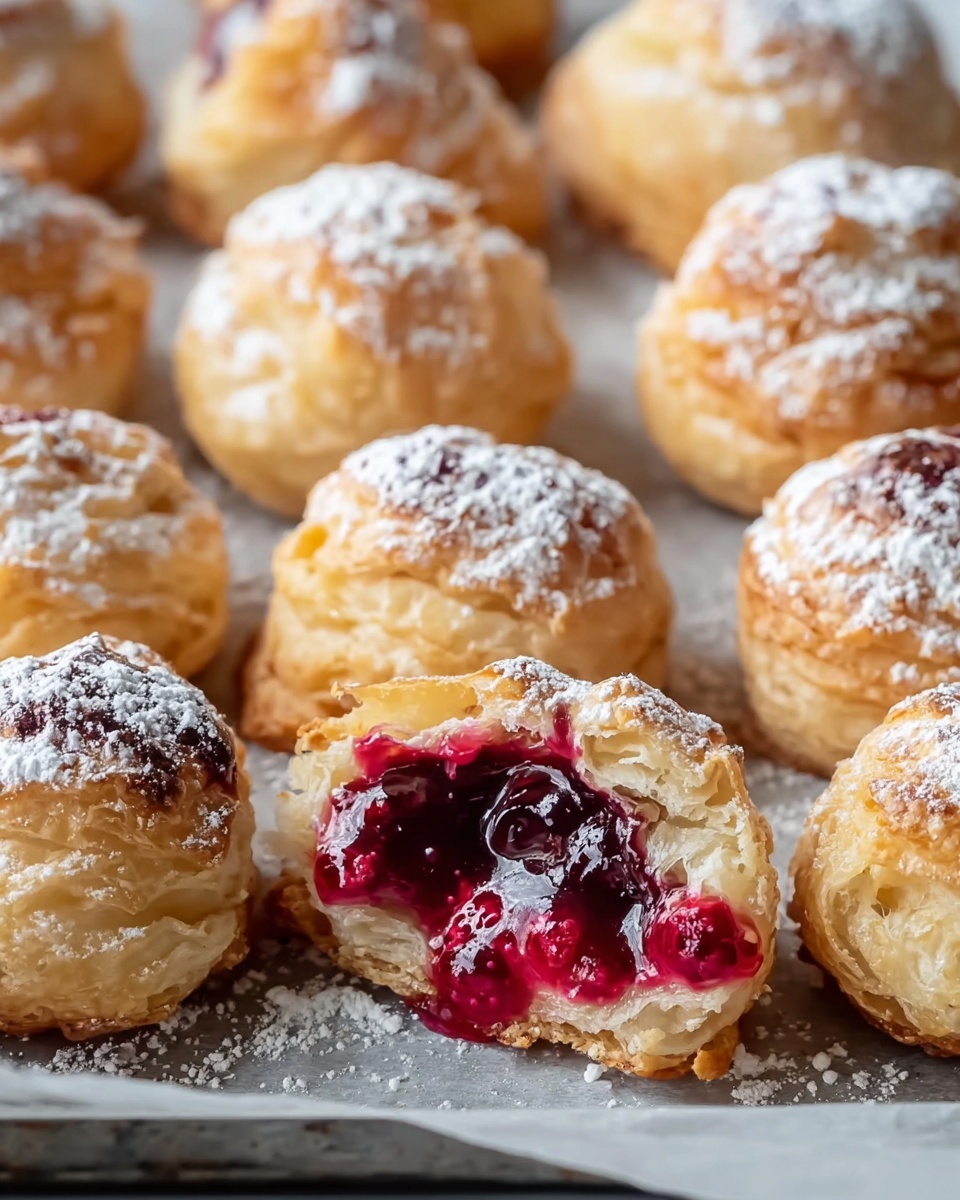
If you are searching for a charming, bite-sized dessert that bursts with vibrant flavors and invites smiles all around, look no further than this Delicious Cherry Pie Bites Recipe. These mini treats beautifully showcase sweet, luscious cherry filling nestled inside flaky, golden crusts, making them perfect for any occasion—from casual family gatherings to elegant parties. Their fun size packs all the classic pie goodness in just one or two bites, so you can enjoy the warm, comforting taste of cherry pie without the fuss. I promise, once you try this recipe, it will quickly become a go-to for delighting friends and satisfying your sweet tooth alike.
Ingredients You’ll Need
Gathering the right ingredients for this Delicious Cherry Pie Bites Recipe is wonderfully simple, and each component plays a key role in creating that perfect balance of texture, flavor, and appeal. From the tender pie crust that crisps just right, to the smooth cherry filling that’s thickened to hold its shape, these ingredients come together to make magic in every bite.
- Refrigerated pie crusts: Provides the buttery, flaky shell that holds the filling perfectly without any stress of making dough from scratch.
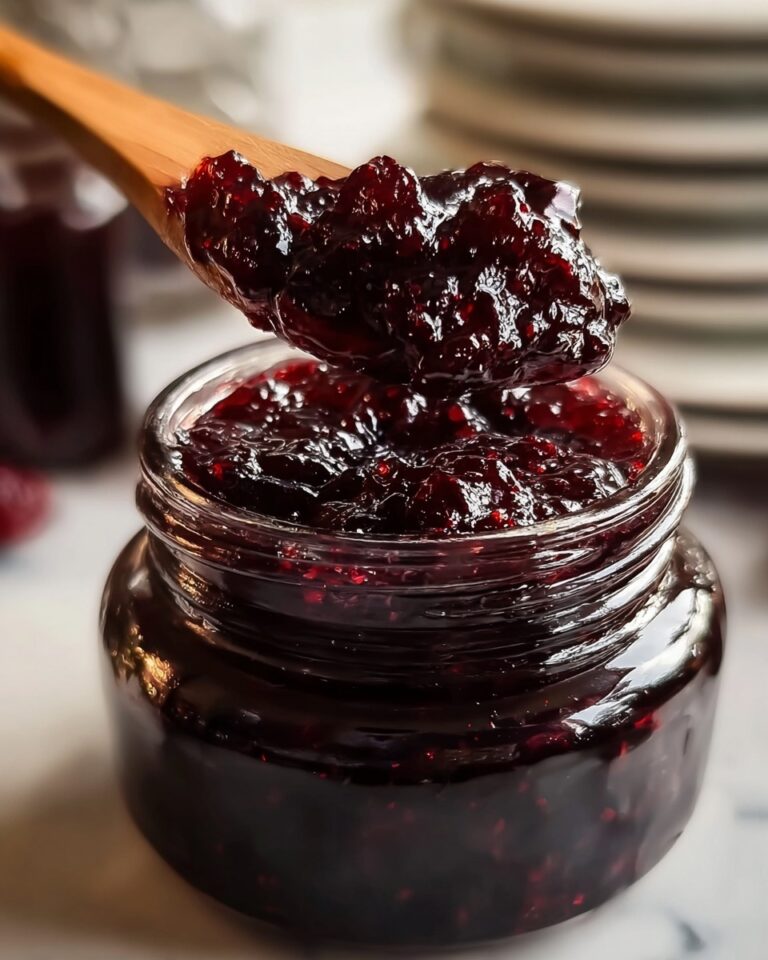
- Cherry pie filling (about 21 oz): Sweet and tart, packed with cherries that offer the star flavor and vibrant red color of the bites.
- Cornstarch: Acts as a thickening agent for the cherry filling to prevent soggy crusts and keep the filling delightfully luscious.
- Water: Helps dissolve the cornstarch and evenly distribute it throughout the filling during cooking.
- Sugar (optional, for topping): Adds a gentle crunch and extra sweetness if you want a little sparkle on top when serving.
How to Make Delicious Cherry Pie Bites Recipe
Step 1: Prepare Your Mini Muffin Tin
Start by preheating your oven to 375°F (190°C), which ensures a hot environment ready to achieve golden, flaky crusts. Grease your mini muffin tin or line it with mini muffin liners to make sure your pie bites come out cleanly and maintain their pretty shape.
Step 2: Cut the Pie Crusts
Unroll the refrigerated pie crusts carefully on a clean surface. Using a 2-inch cookie cutter or a glass, cut out small circles—this size fits perfectly into the mini muffin tin cups to form a charming pie shell. This step is where precision begins to pay off, ensuring each bite is the perfect size to hold just the right amount of filling.
Step 3: Thicken the Cherry Filling
In a small saucepan, combine the cherry pie filling, cornstarch, and water. Warm the mixture over medium heat while stirring constantly until it thickens, usually about 3 to 4 minutes. This step is crucial because it transforms the filling into a luscious, holdable consistency without losing that juicy cherry goodness. After thickening, set it aside to cool slightly so it won’t make your crust soggy.
Step 4: Assemble the Bites
Place each pie crust circle gently into the cups of your mini muffin tin, pressing lightly to form snug little bowls. This creates the perfect base for your filling and ensures every bite has a crispy, buttery shell that won’t break apart.
Step 5: Add the Cherry Filling
Spoon a small amount of the thickened cherry mixture into each crust. Don’t overfill—these bites are all about balance and being easy to eat. The amount you add should just fill the crust without spilling over.
Step 6: Bake to Golden Perfection
Bake the assembled pie bites for 15 to 18 minutes, keeping an eye out as the crust turns a gorgeous golden brown and the cherry filling bubbles tempting signs of sweetness. Once out of the oven, a quick sprinkle of sugar on top (if you like!) adds an elegant touch and a little extra crispiness.
Step 7: Cool and Enjoy
Allow the bites to cool slightly in the tin before carefully removing them. This helps the filling set a bit and keeps the crust crisp. Then dive in and enjoy the wonderful bursts of cherry flavor compacted into these delightful morsels.
How to Serve Delicious Cherry Pie Bites Recipe
Garnishes
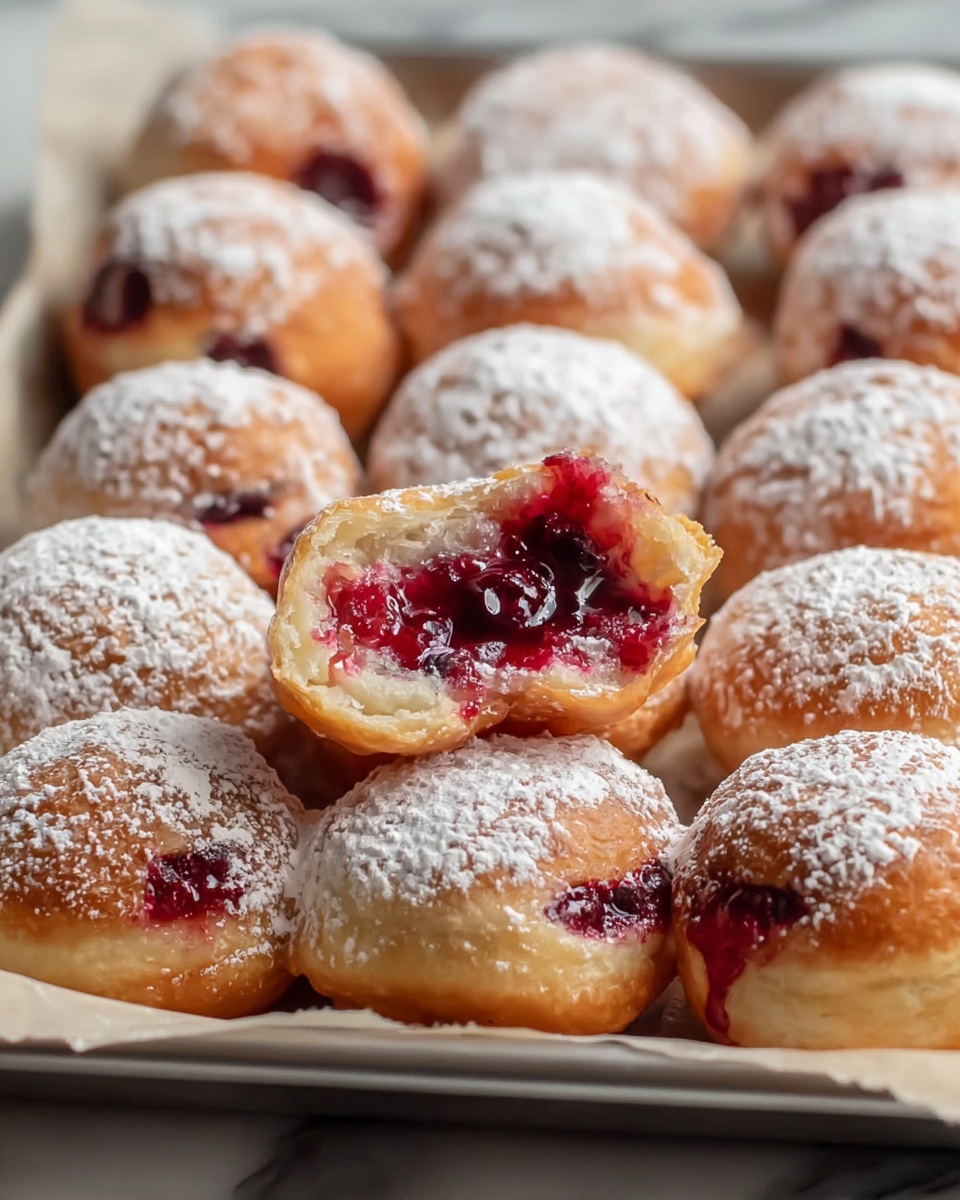
To really make these cherry pie bites stand out, consider garnishing with a light dusting of powdered sugar or a tiny dollop of whipped cream right before serving. Fresh mint leaves also add a lovely pop of green and a refreshing aroma to complement the sweetness.
Side Dishes
These bites pair wonderfully with a scoop of vanilla ice cream, which melts against the warm cherry filling, creating a classic combination that can elevate any dessert spread. A cup of black coffee or herbal tea also balances the sugary notes beautifully for a cozy treat.
Creative Ways to Present
For a festive touch, arrange the pie bites on a pretty platter lined with parchment paper and scattered edible flowers or whole cherries. You can even insert small decorative toothpicks or mini flags to turn them into party-friendly finger foods.
Make Ahead and Storage
Storing Leftovers
If you have any pie bites left after the party, no worries—they store well in an airtight container in the refrigerator for up to three days. This helps preserve the crust’s crispness and keeps the cherry filling fresh, making them easy to grab for a quick snack.
Freezing
For longer storage, wrap individual bites in plastic wrap and place them in a freezer-safe container or bag. They freeze beautifully for up to two months, allowing you to bake a batch in advance and thaw them whenever a craving hits.
Reheating
To enjoy the deliciousness as if freshly baked, reheat the frozen or refrigerated pie bites in a toaster oven or conventional oven at 350°F (175°C) for about 10 minutes. This brings back the flaky texture of the crust and warms the filling through without making them soggy.
FAQs
Can I use homemade pie crust for this recipe?
Absolutely! If you prefer making your own pie crust, just roll it out and cut it into 2-inch circles the same way. Homemade crust adds a personal touch and can be tailored to your taste, whether you like it more buttery or slightly sweetened.
Is it possible to use frozen cherries instead of canned pie filling?
You can, but you’ll need to cook the frozen cherries with sugar, cornstarch, and a bit of lemon juice to make your own filling. It takes a bit more time but results in a fresher cherry flavor that you might love.
Can I make these pie bites gluten-free?
Yes, by substituting the regular pie crust with a gluten-free variety, you can enjoy these delicious cherry pie bites without worry. Just ensure your gluten-free crust handles baking well at the recommended temperature.
How do I prevent the crust from becoming soggy?
Thickening the cherry filling with cornstarch and allowing it to cool before assembling the bites really helps prevent sogginess. Also, make sure not to overfill each crust, which can cause filling to spill and weaken the dough’s structure.
Can I prepare these pie bites ahead of time before baking?
Yes! You can assemble the pie bites and refrigerate them for a few hours before baking. Just take them out of the fridge about 15 minutes before putting them in the oven to help them bake evenly.
Final Thoughts
There is something so heartwarming about these Delicious Cherry Pie Bites Recipe — they bring classic pie flavor and flaky, buttery texture into a playful, shareable form that everyone can enjoy. Whether you’re new to baking or a seasoned pro, this recipe is straightforward, satisfying, and sure to become a favorite that you’ll want to make again and again. So grab your ingredients and get ready to bake some bite-sized joy!