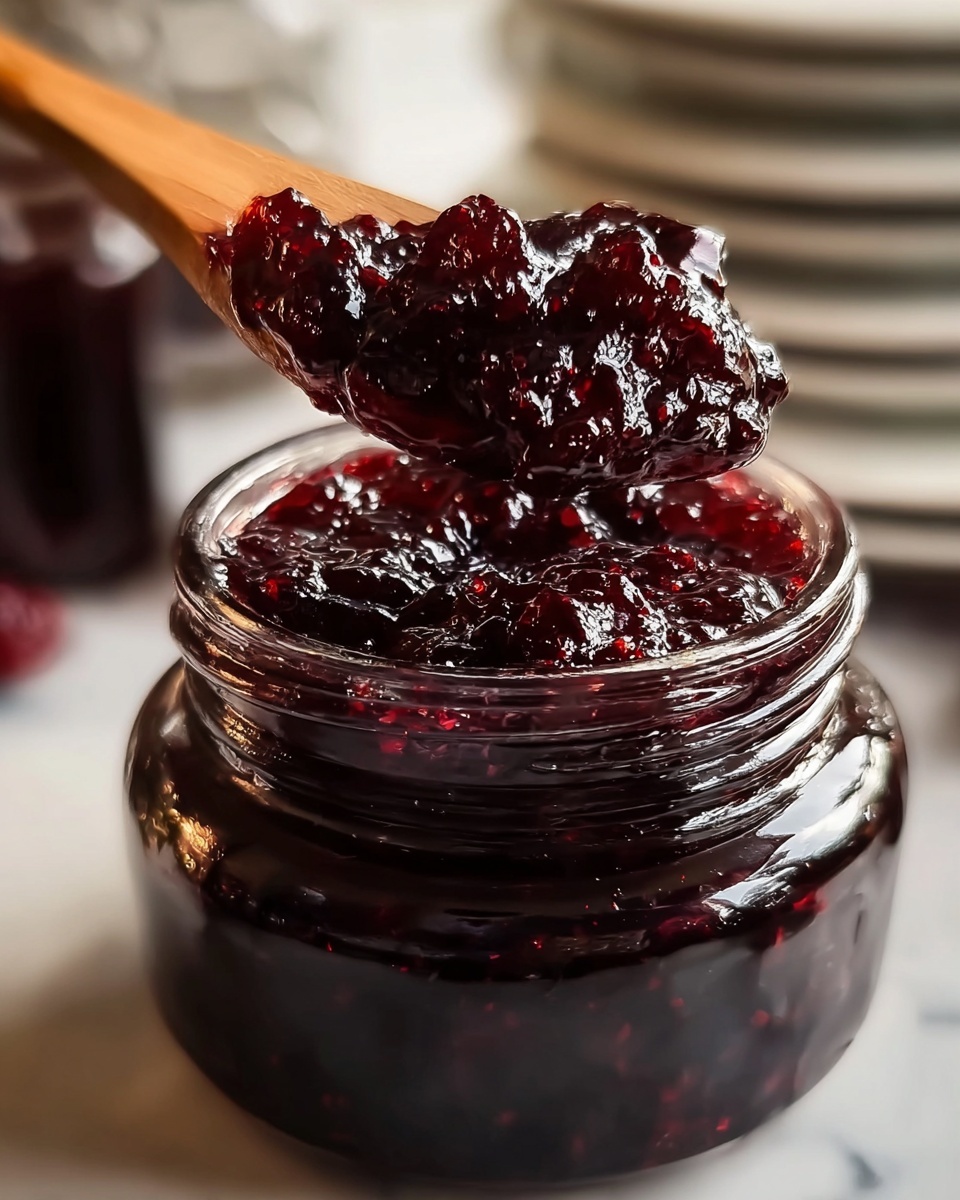
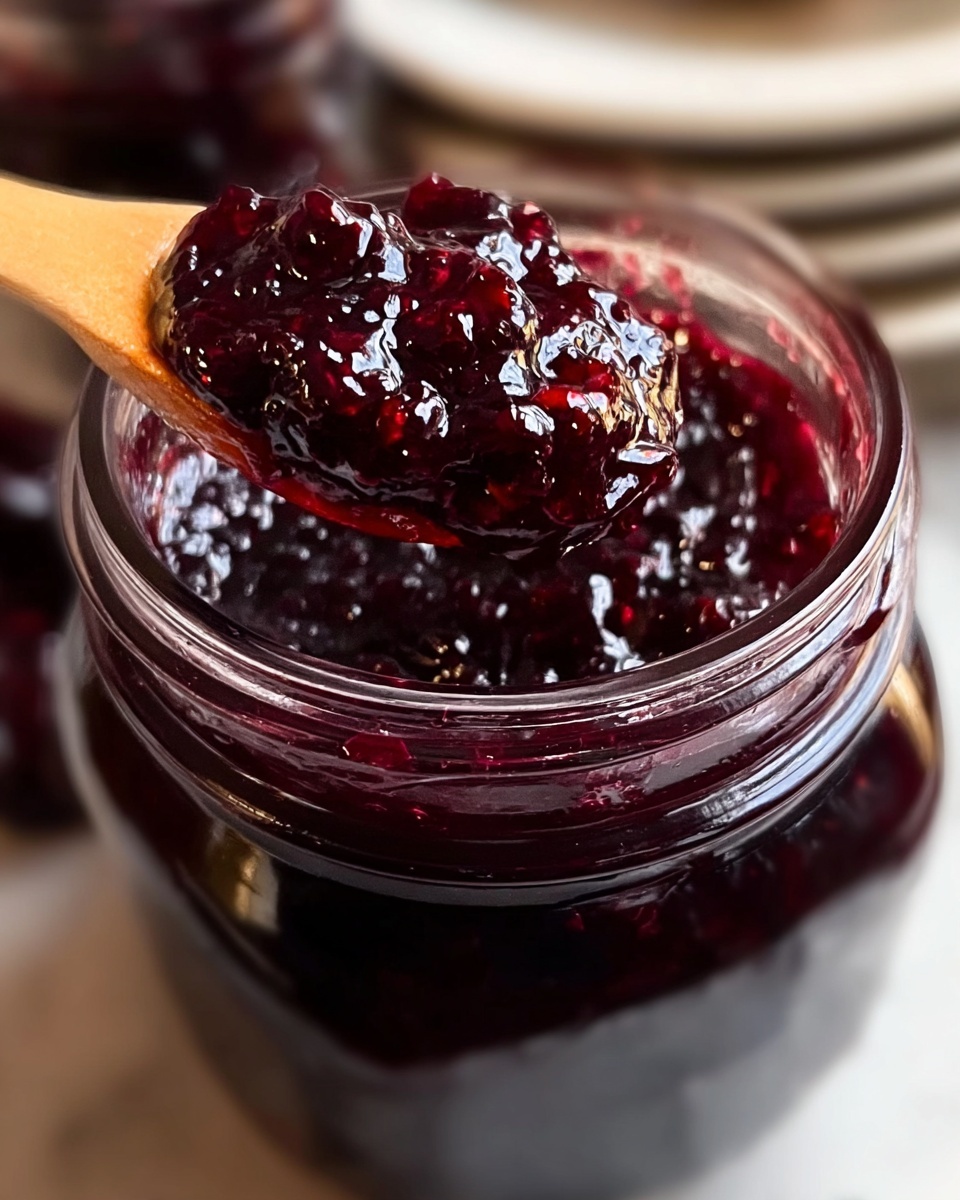
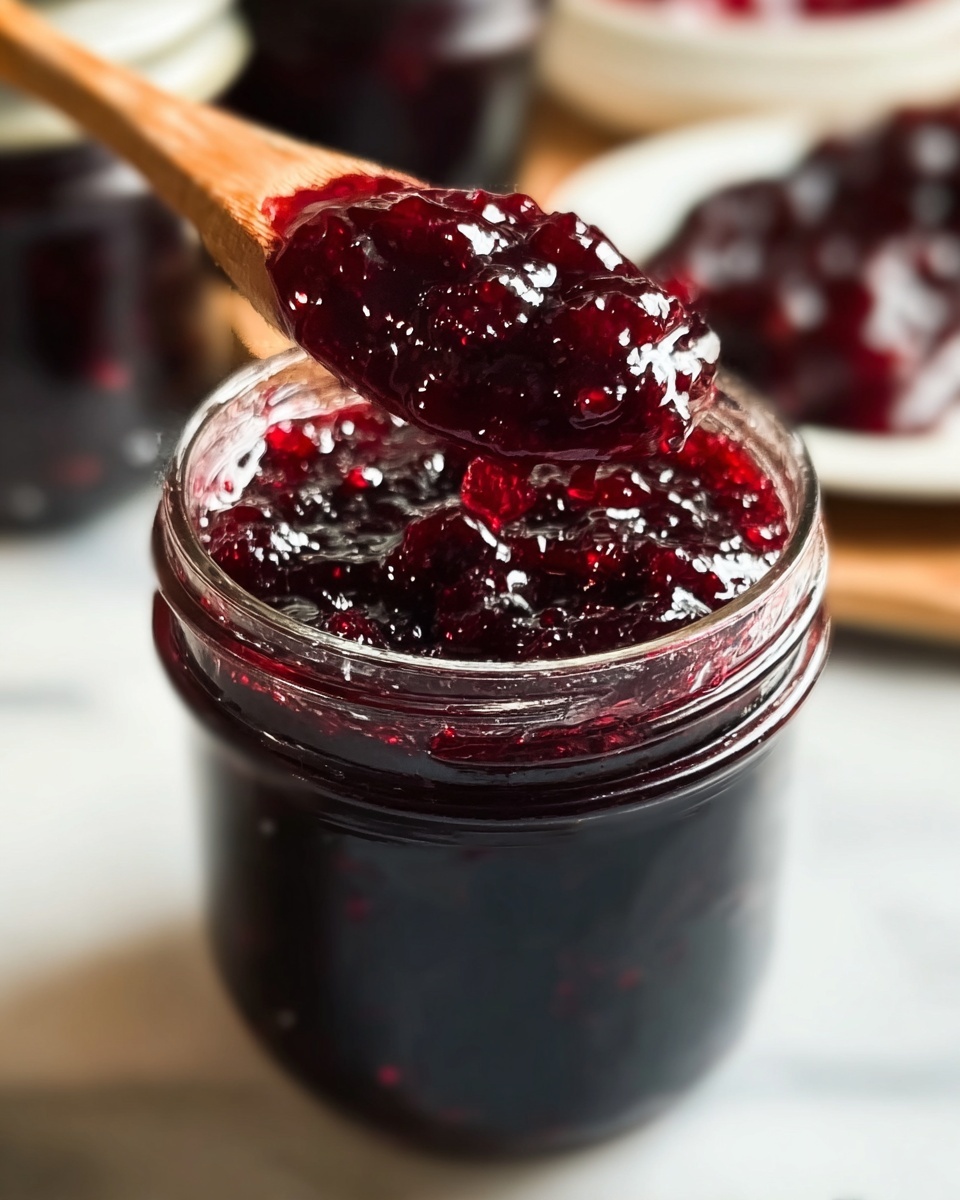
If you have a bounty of fresh berries or just crave that perfect spread bursting with summer flavor, this Best Homemade Blackberry Jam Recipe is your new kitchen go-to. It’s delightfully simple, requiring just a handful of straightforward ingredients, yet it yields a richly fruity, beautifully textured jam that tastes like sunshine in a jar. Whether you’re slathering it on toast or spooning it into yogurt, this jam offers that irresistible balance of sweet and tart that only blackberries can bring. Let’s dive into how you can effortlessly create this delicious preserve at home and savor the freshest berry goodness all year round.
Ingredients You’ll Need
These ingredients may be few, but each one plays a crucial role in crafting the perfect blackberry jam. From the fresh berries lending color and flavor to the lemon juice brightening the mix and the pectin setting it just right, you’ll see how simplicity results in stunning taste and texture.
- 5 cups fresh blackberries (washed and drained): Choose ripe, plump berries for maximum flavor and natural sweetness.
- 1/4 cup lemon juice (freshly squeezed): Adds brightness and helps activate the pectin for a perfect set.
- 1 box (1.75 oz) fruit pectin (such as Sure-Jell): Essential for thickening the jam without compromising the fresh fruit taste.
- 7 cups granulated sugar: Balances the tartness of the berries and preserves the jam for storage.
How to Make Best Homemade Blackberry Jam Recipe
Step 1: Prepare and Mash the Berries
Start by placing your freshly washed blackberries in a large bowl and gently mashing them with a potato masher or fork. The aim is to create a chunky texture that releases plenty of juice without turning into a puree. This step is all about coaxing out that deep berry essence while keeping a nice balance of chunks and liquid to ensure your jam has delightful texture.
Step 2: Combine Ingredients and Heat
Measure exactly 4 cups of your mashed berries and transfer them to a heavy-bottomed pot to prevent scorching. Stir in the lemon juice and the pectin powder until everything is well combined. Place the pot on medium-high heat and bring the mixture to a full rolling boil, stirring constantly to prevent sticking or burning. This boiling helps the pectin activate, creating the wonderful thickness you expect from jam.
Step 3: Add Sugar and Boil
Once your berry mixture is boiling hard, add all 7 cups of granulated sugar at once and stir thoroughly to dissolve it completely. Return the pot to a vigorous rolling boil and keep it boiling hard for exactly one minute while stirring continuously. This precise timing is key to achieve the perfect consistency and sweetness without overcooking the berries.
Step 4: Skim and Jar the Jam
Remove the pot from heat and carefully skim off any foam that has formed on the surface. Immediately ladle your hot jam into sterilized jars, leaving about a 1/4-inch headspace to allow for expansion. Wipe the rims clean to ensure a good seal, then apply lids and screw on the bands.
Step 5: Process in a Water Bath
For safe storage and to preserve freshness, place the filled jars in a boiling water bath for 10 minutes. Once processed, set the jars aside to cool completely. As they cool, you’ll hear the satisfying pop of seals forming. Double-check these seals before storing your homemade blackberry jam on the pantry shelf or in the fridge.
How to Serve Best Homemade Blackberry Jam Recipe
Garnishes
A sprinkle of fresh mint or a light dusting of lemon zest on top of a spoonful of jam adds a refreshing lift. These garnishes can highlight the natural brightness of the blackberries, making each bite feel nuanced and vibrant.
Side Dishes
This jam pairs wonderfully with classic breakfast staples like buttered toast, flaky croissants, or warm pancakes. It’s also fantastic alongside creamy cheeses such as brie or goat cheese, elevating your brunch or snack with bursts of fruity sweetness and tang.
Creative Ways to Present
Try swirling this blackberry jam into vanilla yogurt or oatmeal for an easy flavor upgrade. Use it as a topping for homemade ice cream or cheesecake to impress guests at your next gathering. For a special treat, spoon it over a slice of pound cake and watch smiles bloom around the table.
Make Ahead and Storage
Storing Leftovers
If you have any jam left after your tasting adventures, keep it stored in sealed jars in the refrigerator. It should stay fresh and luscious for up to three weeks, perfect for spreading on toast or stirring into recipes as needed.
Freezing
For longer-term storage, blackberry jam freezes beautifully. Use freezer-safe containers, leaving some room at the top for expansion. When you’re ready to enjoy, thaw it overnight in the fridge to preserve texture and flavor.
Reheating
If your jam thickens too much in the fridge or freezer, gently warm it in a saucepan over low heat while stirring until it reaches your preferred consistency. Avoid overheating to maintain the fresh blackberry taste.
FAQs
Can I use frozen blackberries for this jam?
Yes! Frozen blackberries work wonderfully. Just thaw and drain them well before mashing to avoid excess water diluting your jam.
How can I make the jam seedless?
After mashing the berries, strain the mixture through a fine mesh sieve to remove seeds before cooking. This gives you smooth, seedless jam.
Is it necessary to use fruit pectin?
Pectin helps the jam set properly, but if you prefer a looser spread, you can try skipping it—though keep in mind the texture will be less firm.
How long does homemade blackberry jam last?
When properly canned and sealed, it can last up to a year stored in a cool, dark place. Once opened, keep refrigerated and consume within three weeks.
What can I substitute for granulated sugar?
While granulated sugar is ideal for texture and preservation, you can experiment with natural sweeteners like honey or maple syrup, though results may vary slightly.
Final Thoughts
Nothing beats the joy of spreading your very own Best Homemade Blackberry Jam Recipe on fresh bread or dolloping it over your favorite desserts. It’s a simple pleasure that brings that burst of garden-fresh flavor straight to your table. Once you try your hand at this recipe, you’ll find it’s a delightful way to celebrate the abundance of blackberry season and make memories in the kitchen. So, grab those berries and start cooking—you’re just a jar away from your new favorite homemade treat!